The part arrived 2 or 3 days ago, early.
Is that the BWD from rockauto ??
I'd be curious to see a side by side pic of the toasted Four Seasons and the BWD…I never got to comapre them directly.
Last edited:


Disclaimer: Links on this page pointing to Amazon, eBay and other sites may include affiliate code. If you click them and make a purchase, we may earn a small commission.
The part arrived 2 or 3 days ago, early.
Update. Ongoing vibs. Had rear driveshaft rebuilt and rebalanced, replaced front driveshaft again with rebalanced unit, found wiped front output bearing in transfer case so replaced the tc (that’s solved the really nasty vibs), replaced new rear trans mount (dea brand) with oem and also replaced anchor motor mounts with oem, and for good measure replaced front wheel bearings.Finally took the plunge - 4.10 regear complete. And while I was there, replaced front differential bushings (totally shot), motor mounts (torn in half), trans mount (torn in half), and steering ram bushings (not terrible). Bushing replacements were front creative steel - never want to do this again - but mounts are just aftermarket.
And oh yeah muffler and tailpipe replacement.
But as soon as it was together, noticed strong vibration above 70mph. And then I rebuilt the rear driveshaft and replaced the junky front driveshaft with a balanced lifetime unit.
Having both driveshafts out, realized the front one is longer than rear. Both should be balanced, don’t get one that isn’t.
No, it's a Four Seasons unit... Which, oddly enough, doesn't look like the old one.Is that the BWD from rockauto ??
I'd be curious to see a side by side pic of the toasted Four Seasons and the BWD…I never got to comapre them directly.
God I hate that…it recently happened to me with a 4' machined strait edge that I bought to tune up my joiner up…I took it out of the box and someone had replaced the machined strait edge with a 4' piece of 1/8" Simpson Tie strapping that they painted black and put right back in the box. Obviously it was unusable as a machine tool. I do hope that Amazon actually listened to me during the return/replacement when I advised them NOT to restock the returned item, but somehow I kinda doubt itNo, it's a Four Seasons unit... Which, oddly enough, doesn't look like the old one.
Old one has no markings and no obvious damage. I suspect I am the victim of the old swaperoo. Someone swapped a cheapie for the Four Seasons unit, kept the FS, and returned the cheapie in the Four Seasons box.... And I got it about 6 months ago.
Installed the new Four Seasons unit from Amazon - this one has appropriate markings. I now have functioning blower motor on fan settings 1-3, but not 4...
Misread that, thought it said was working on mode 4It doesn't work on any mode, as I indicated.

That's how I understand it.IIRC, high speed (4) bypasses the resistor entirely, though obviously not its wiring.
I once bought a new valve cover gasket for my old XJ. I dry aged it in my garage for a year. I figured it would work better that waySo, I've been lazy. The part arrived 2 or 3 days ago, early. I haven't been bothered to install it, largely due to the weather (unusually cold for this time in SC) and the fact it's a bit difficult to get to that lower bolt. I will grab a small palm ratchet and install it after work.
Hi there. In my posting I was referring to the OEM lug nuts losing their caps such that I had 19mm original size lug nuts and 17mm size lugs nuts because the caps were falling off. I finally just replaced all of my lug nuts with the new aftermarket one piece 19mm lug nuts.Color me ignorant but did Jeep really use 2 different size lug nuts on some years and models?
I finally just replaced all of my lug nuts with the new aftermarket one piece 19mm lug nuts.
. Due to a family emergency, I was only able to top her off with some GL5 that I had and then I had put another 1000 miles on her, until now finally getting around to changing it out and then putting on the ARB rear diff cover using an excellent LubeLocker gasket.I'm afraid I have way too many parts and kits laying around like that... Including a full set of steering abd knuckles for hi-steer on a Dana 44 I want to put under my Tacoma... And several bits and bobs to do a SFA on it....I once bought a new valve cover gasket for my old XJ. I dry aged it in my garage for a year. I figured it would work better that way
I'm a fan of the spline-drive lugnuts, myself. Everything I own has themHi there. In my posting I was referring to the OEM lug nuts losing their caps such that I had 19mm original size lug nuts and 17mm size lugs nuts because the caps were falling off. I finally just replaced all of my lug nuts with the new aftermarket one piece 19mm lug nuts.
You lucky, lucky bastard.... No amount of fiddling has gotten mine working.Finally got around to installing and perfectly adjusting the new parking brake shoes on Giddyup.
A good cleaning and a little silicone grease at all the pivot points was all it took.
While obviously not a hard job, it is definitely 7.5/10 on the PIA scale due to the "old school" spring design. Still, I gots NO skinned knuckles, so all good.
Giddyup now holds perfectly still with the parking brakes alone in neutral on a close to 30° slope.
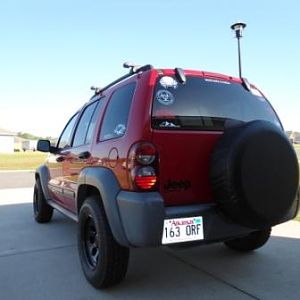
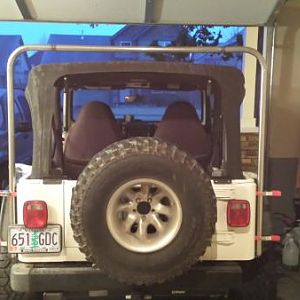
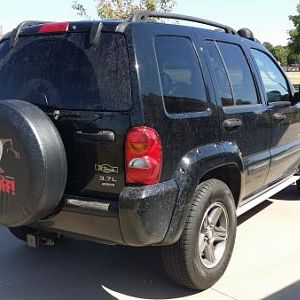
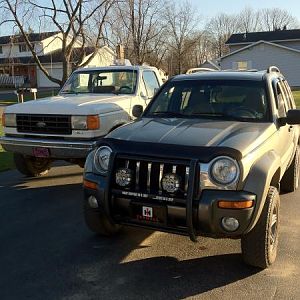
You must be registered for see images attachYou must be registered for see images attach