duderz7
Full Access Member
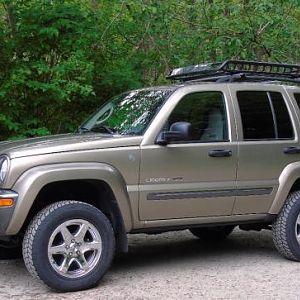
You must be registered for see images attach
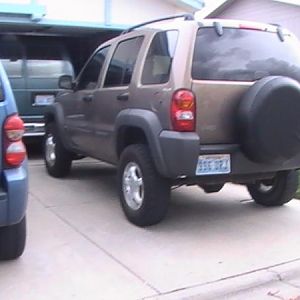
here's mine, it just pays honors to my first Jeep. A 1971 Wagoneer.

Disclaimer: Links on this page pointing to Amazon, eBay and other sites may include affiliate code. If you click them and make a purchase, we may earn a small commission.
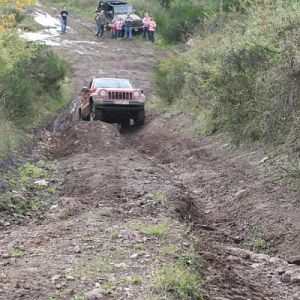
I can almost hear the "Oh Canada" singing in the background, what beautiful views.Had a bit of a fun adventure last week - a bunch of us took a barge up one our local lakes for 4 hours to explore a bunch of old logging roads. Was a fun 5 days and got to explore a bunch of roads that have not seen traffic in quite a few years.
You must be registered for see images attach
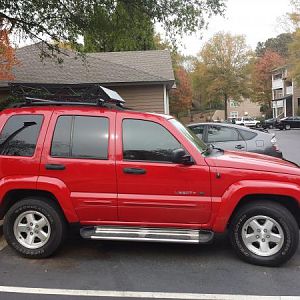
You must be registered for see images attach
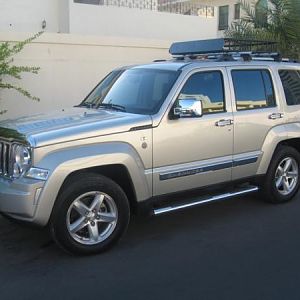
You must be registered for see images attach
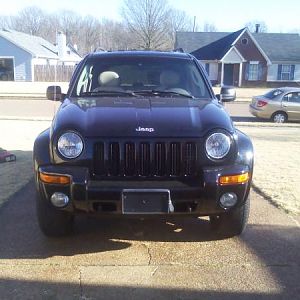
You must be registered for see images attach
You must be registered for see images attach
You must be registered for see images attach
You must be registered for see images attach
You must be registered for see images attach
Better option...Contemplating tomorrow’s project… order of operations?
- jack up the back end, support frame rail with jack stands
- remove rear wheels
- lower the rear axle
- remove shocks and sway bar links
- lower more, then remove springs (bump stops are shot, so not really in the way)
- remove old hardware holding in lower bump stops that has rusted into an unrecognizable lump, then re-drill spring perches
- install upper bump stops
- install new spring isolators, top and bottom
- install rear springs
- install lower bump stops by slotting hockey pucks through the springs, then bolting them down
- raise rear axle
- reinstall shocks and sway bar links with the axle supporting the weight of the vehicle
- reinstall rear wheels
- lower the vehicle
Am I missing anything? Thanks for your input.
It was a good trip!That looks like a load of fun!

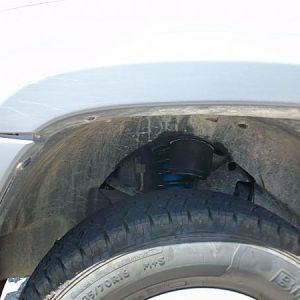
Yeah when I got my Liberty, I learned to appreciate my old 71 FJ40's emergency brake it was right off the drive line not in the wheels. I use to think that was a pain, then I had to deal with the liberty internal pads, and when the shields on the back started to rust, they make horrible noise and to replace them you would think they would make split shields, I had to pull the axles to put new ones on.Spent 3 hours NOT fixing the Jeep..rather I took her apart and then had put her back together again with the same problem.
That said, I DID find out why the parking brake handle was pulling straight up and the parking brake wasn't working at all.
HINT …it was NOT the stupid dual cable, dual spring, clutch/torque limiting design of the handle…
Instead it was this --
You must be registered for see images attach
ALSO inspected front and rear brakes and decided it was close enough to get new pads all the way around. Got 50k on the fronts and for some reason LESS on the rears.
Got a good deal on Akebono ProACT ceramic pads from Rockauto ($30/axle) and a new set of parking brake shoes for $18.
I learned to appreciate my old 71 FJ40's emergency brake it was right off the drive line not in the wheels.
—I think drilled and slotted is more about heat, allowing air to pas through, but logically seems like it might also give space for water and or debris go so the pads can make contact. I've considered them myself, but decided it wasn't worth it to me. I believe they wear quicker too.I put it in the back garage, this weekend just to get it out of sight. It needs a seat belt buckle for the passenger seat. My wife does not appreciate the quirk of hitting the buckle until the button pops back up before she can actually buckle.
As for brakes, if I get another set of brakes on it, I’m getting drilled and slotted rotors from Rock Auto. Whenever my brakes get wet, they just don’t work. I figure maybe the fancy rotors could help.
This is roughly what I aim to do, off the 231 t-case, with an electric brake unit off a Tesla or similar electric e-brake (VW comes to mind).Ya, thats how my old forklift parking brake works … 9" cylinder at part of the driveline with a clamping brake shoe AROUND it…super easy to work on and adjust if needed.
I think drilled and slotted is more about heat, allowing air to pas through, but logically seems like it might also give space for water and or debris go so the pads can make contact. I've considered them myself, but decided it wasn't worth it to me. I believe they wear quicker too.