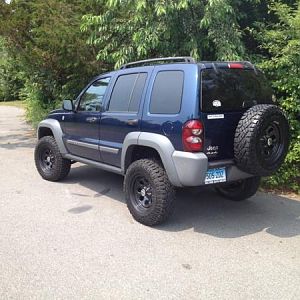
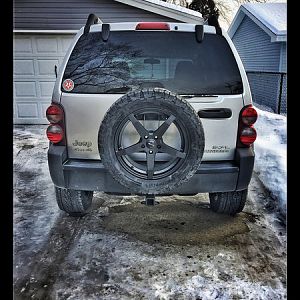
attempted the clevis lift today no luck...

Disclaimer: Links on this page pointing to Amazon, eBay and other sites may include affiliate code. If you click them and make a purchase, we may earn a small commission.

blue_kjR417

Platinum Renegade
Joined
Oct 29, 2008
Messages
1,184
Reaction score
1
Location
Jonesboro, AR
Well I was checking my brake pads and already had it on the lift so thought I'd try to go ahead and do a clevis lift. Well when I loosened the bolt out of the clevis i couldn't get it to slide down was I supposed to keep pressure on the strut some how?
 

kj924

Administrator
Joined
Dec 9, 2007
Messages
3,363
Reaction score
1
Location
Prince Edward Island,Canada
You need to take the pressure off the lower control arm. Did you have the jack/jack stand under it by chance? If not, then you need to pry down on the LCA to make the clevis fork move down.
 

LibertyOrDeath

Full Access Member
Joined
Oct 4, 2007
Messages
1,675
Reaction score
1
Location
Grays Harbor County, SW Washington
What I did was jack up both sides. Take off the tires and loosen the clevis bolts on both sides. I took a prybar and pried it down a bit on one side, tightened the bolt just snug. Moved to the other side and repeated until I had 3/8" on both sides.
 

blue_kjR417

Platinum Renegade
Joined
Oct 29, 2008
Messages
1,184
Reaction score
1
Location
Jonesboro, AR
You need to take the pressure off the lower control arm. Did you have the jack/jack stand under it by chance? If not, then you need to pry down on the LCA to make the clevis fork move down.

I had the jack under the cross member but didn't have my laptop to look at the how to nor did I have a pry bar so I just said screw it because it started raining on me too lol.
 

sootie007

Full Access Member
Joined
Jul 12, 2009
Messages
76
Reaction score
0
Location
Clermont Florida
Clevis lift

Blue let us know how you make out.....are you putting any type of washer or spacer in there or are you simply prying and retightening? If you are successfull I may go ahead and do mine too....thanks John
 

blue_kjR417

Platinum Renegade
Joined
Oct 29, 2008
Messages
1,184
Reaction score
1
Location
Jonesboro, AR
Blue let us know how you make out.....are you putting any type of washer or spacer in there or are you simply prying and retightening? If you are successfull I may go ahead and do mine too....thanks John

Well I'm still using crap stock struts so I won't be able to use a spacer or the conduit nuts
 

Atrus

Full Access Member
Joined
May 15, 2007
Messages
4,400
Reaction score
11
Location
Metro Detroit, MI
Spacers are just used to make sure it's lifted evenly. From my reading, it seems that you can use conduit nuts on the OEM shock, can't you? You just need an additional 1-2 since the flange isn't flat on the bottom.

You need a pry bar to spread the clevis open a bit to allow it to slide on the shock. Just be careful that you don't go too far and break it. I actually reversed the bolt (put it in backwards so it was just in the threaded portion of the clevis) and inserted a small open end wrench in the gap in the clevis. I tightened the bolt against the wrench to give me some slack.
 

Selwyn

Full Access Member
Joined
Jun 14, 2009
Messages
34
Reaction score
1
Location
South Africa
Opening the Clevis made easy: Turn the clevis bolt in from the wrong side, place a piece of metal or spanner between the clevis lugs covering the bolt hole, tighten the bolt lightly onto the metal surface, this opens the clevis for easy movement on the shock assembly.

Regards.
 

Uncle Krusty

Full Access Member
Joined
Nov 23, 2008
Messages
207
Reaction score
0
Location
San Tan Valley, AZ
I knew there was a reason I liked hanging out here!

I had never thought of reversing the bolt and using it to press the clevis open. idea.gif Pure genus!!!!!!!!.

I'll file that one away for the "someday when I get my lift" file.

Thanks again!
 

blue_kjR417

Platinum Renegade
Joined
Oct 29, 2008
Messages
1,184
Reaction score
1
Location
Jonesboro, AR
i got her done yesterday!
however used a technique of my own or atleast i'd never seen it on here.
I took the bolt to the other side and tightened it on a spacer to spread it for easy movement then I pry'd and pry'd and pry'd but every time I let off it would slide back up so..... I came up with the great idea to use my stock sissor jack from under the back seat to push the clevis down! I placed the sissor jack between my UCA and bumpstop, with the big base on the UCA and the small end on the bumpstop. The I started cranking, it fit snuggly so I wasn't that worried about it sliiping off. But it gently pushed the hole assembly down until i got to 3/8". Then I took the bolt and spacer out put the bolt in correctly and tightened it up. Then removed the jack. Done! This was soooo much easier it took me maybe 10 minutes total to do each side not counting the prying.
 

blue_kjR417

Platinum Renegade
Joined
Oct 29, 2008
Messages
1,184
Reaction score
1
Location
Jonesboro, AR
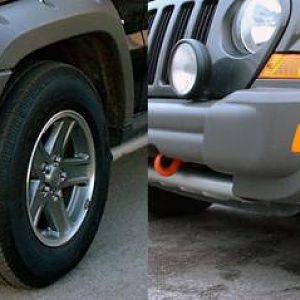
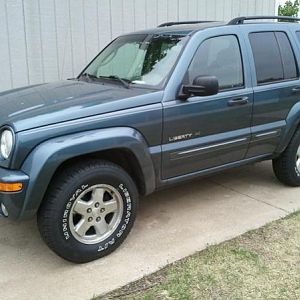
before
You must be registered for see images attach

You must be registered for see images attach

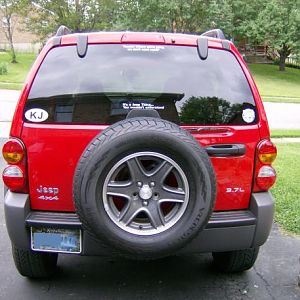
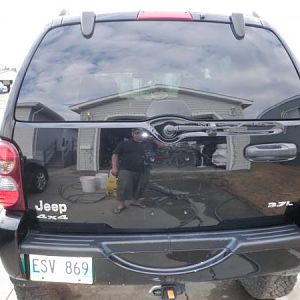
And After
You must be registered for see images attach

You must be registered for see images attach

You must be registered for see images attach


I'm happy with the turn out!
 

Awww KJ

Full Access Member
Joined
May 26, 2009
Messages
68
Reaction score
1
Location
AZ
Looks great.
Did you get an alignment afterwards?

Sorry for the bump; I'm learning about KJ lifts. :)
 
Top