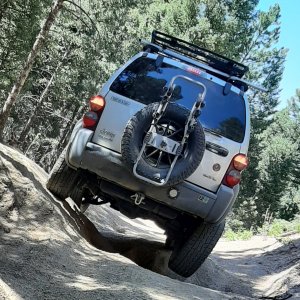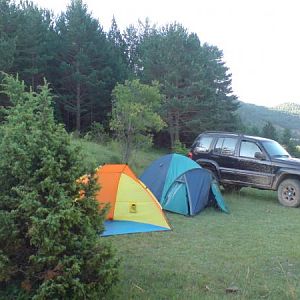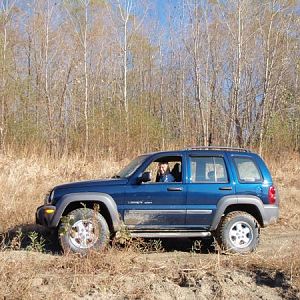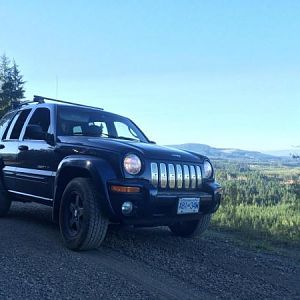

Installing OME lift this weekend....
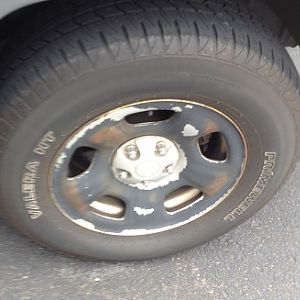
So far the rear is disassembled.. Took far too long to get that far. Some rusted wheel nuts and now trying to get the rear sway/torsion bar off, bolts on that are stiff and stubborn too!
To make it worse, what should be a simple R&R job, I can't seem to get enough flex downward on one side or the other of the axle to get the new springs in. Almost there!
If the sway bar comes off, should have enough flex. Also thinking of disconnecting the upper control arm. Not sure if that's necessary though.
Took a break to take the kid to a movie... Will tackle it again tonight and tomorrow. As it is now, I have tk at least finish the rear to make it driveable to get to work Monday.
Damn rusty bolts... But oddly enough the underside isn't rusted much at all.
Suggestions while I take a break?
Last edited: