
bigBlue
Full Access Member
Okay...let me explain the situation first....
I have daystar top plates installed with my spacer lift right now. I DO NOT have the stock plates anymore or the bottom iso's for the front. Will this set-up work or will it cause problems? I have asked this before in several threads, but no one will give me an answer...just what "I should do instead."
OME927
RSX17505
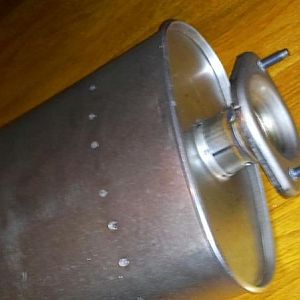
Daystar Top Plate
.75 Poly (bottom)
RRO UCA's
Am I going to get into trouble with this lift? It is identical to the FrankenLift from what I can see.
Please let me know what I need to get this done. I am doing the install this week.
I have daystar top plates installed with my spacer lift right now. I DO NOT have the stock plates anymore or the bottom iso's for the front. Will this set-up work or will it cause problems? I have asked this before in several threads, but no one will give me an answer...just what "I should do instead."
OME927
RSX17505
Daystar Top Plate
.75 Poly (bottom)
RRO UCA's
Am I going to get into trouble with this lift? It is identical to the FrankenLift from what I can see.
Please let me know what I need to get this done. I am doing the install this week.