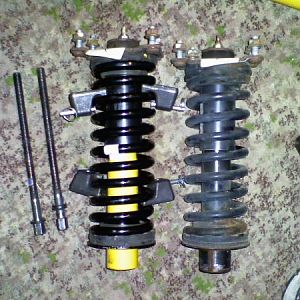
As subject says - Installing the JBA UCAs this weekend! :winner_third_h4h:
Also will be opening up the UCA pockets.
I am looking for:
1. Pro tips / what to do / avoid during install
2. Step by step install guide / tutorial with proper pictures that still work / show (99% of how-to in this forum have broken links to photos).
Thank you!
Pretty simple really
Jack front up, place jackstand on frame
remove tires,
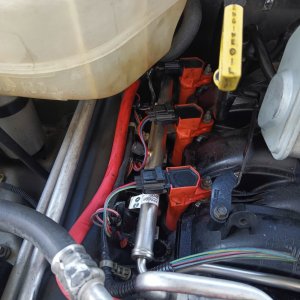
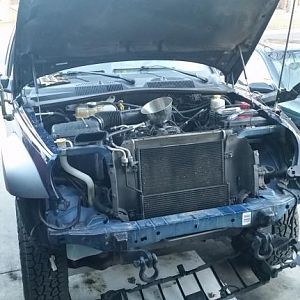
right side remove air box
remove nut on UBJ
after removing run back on a few thread
knock UBJ loose
remove nuts from bolts on UCAs ( right side very easy to get to )
remove bolts and UCA
Install JBAs up in place while holding in place slide bolts through
Tighten down until nut touches ( do not fully tighten until on ground with full weight)
Install UBJ on spindle
Tighten nut and install cotter key
replace air filter box etc
Remove battery and tray ( some don't and just fight their way around it for no longer than it takes makes it easier )
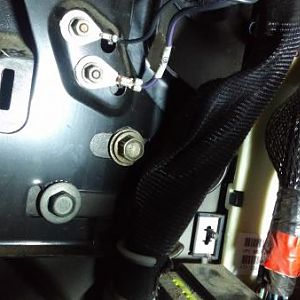
With long extension with swivel on the end remove rear bolt , ( some models you may have to loosen bolt holding brake line to move it enough to gain access )
remove front bolt and same as right side for reinstall
drop on ground and tighten all 4 bolts
replace battery tray etc now
As far as opening up the holes, no need to really
I have done it both ways and it works either way.
What I do on the ones I install is hit the part that sticks up with a hammer a few times so it leans inward some . That way it will self clearance the amount it needs to go .
By the way I do not do step by step install guides