
Mark KJ06
New Member
- Joined
- Mar 25, 2020
- Messages
- 8
- Reaction score
- 20
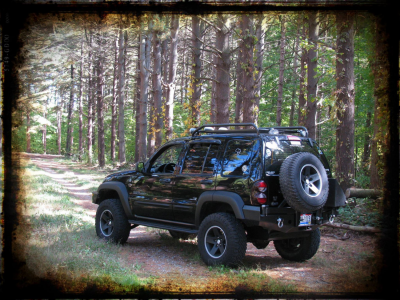
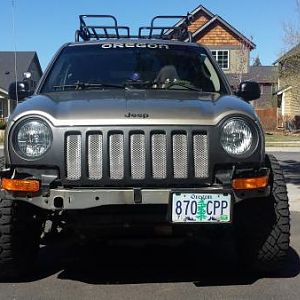
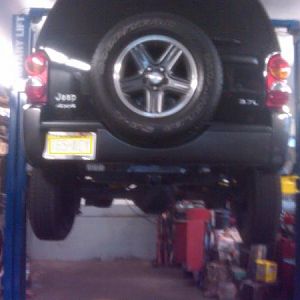
Finally got all the parts ready to lift the libby!
Front springs OME 927 with Bilstein's 24139168 (had a shop press it)
Back springs OME 948 with OME N132L Shocks
Tera Flex front bump stops, rear 4 Hockey pucks, 3/8 bolt with a length of 2 1/2 inches with locking nut and washer.
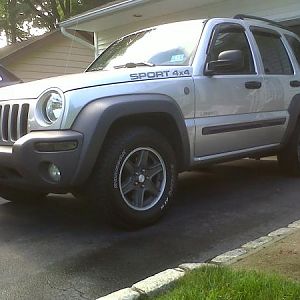
Also, was able to score some Moab 16x8 wheels set of 4 for only 120 bucks not in the best condition but cant complain for that deal and hoping to put these them on the liberty as well definitely a big upgrade from my stock heavy steeles.
I wanted to ask if I should get some rear upper isolators or wait on the the suspension to settle in for a bit? I am looking to only get the 2.5 inch no more, maybe in the future when I install some upper JBA's will go for more.
Also, if anyone has any tips/tricks/recommendations before I get down and dirty I am all ears, thanks!
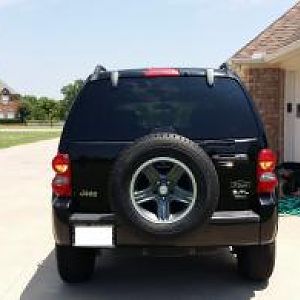
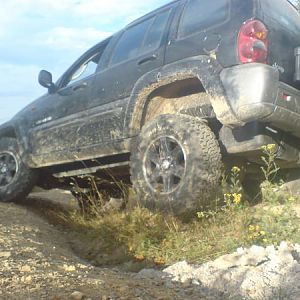
Sorry the libby could use a vaccum hoping to give a good wash after the lift.
Front springs OME 927 with Bilstein's 24139168 (had a shop press it)
Back springs OME 948 with OME N132L Shocks
Tera Flex front bump stops, rear 4 Hockey pucks, 3/8 bolt with a length of 2 1/2 inches with locking nut and washer.
Also, was able to score some Moab 16x8 wheels set of 4 for only 120 bucks not in the best condition but cant complain for that deal and hoping to put these them on the liberty as well definitely a big upgrade from my stock heavy steeles.
I wanted to ask if I should get some rear upper isolators or wait on the the suspension to settle in for a bit? I am looking to only get the 2.5 inch no more, maybe in the future when I install some upper JBA's will go for more.
Also, if anyone has any tips/tricks/recommendations before I get down and dirty I am all ears, thanks!
Sorry the libby could use a vaccum hoping to give a good wash after the lift.
You must be registered for see images attach
You must be registered for see images attach
You must be registered for see images attach
Last edited: