El Burro II Project Pics

Disclaimer: Links on this page pointing to Amazon, eBay and other sites may include affiliate code. If you click them and make a purchase, we may earn a small commission.

Burro II

Member
Joined
Mar 2, 2019
Messages
65
Reaction score
3
Location
Sierra Foothills CA
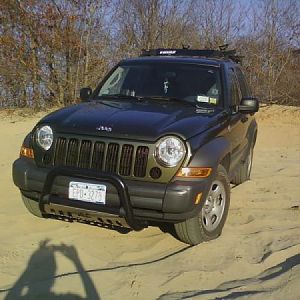
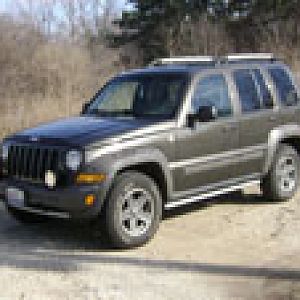
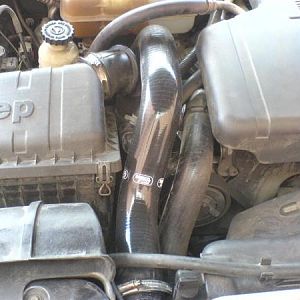
Just finished the major service and refinements such as new rims and tires:

burro-ii-albums-main-picture6473-finished3.jpg


burro-ii-albums-main-picture6472-finished2.jpg


burro-ii-albums-main-picture6471-finished1.jpg


The radio installation. Took all of five minutes to swap in the new one with the aux jack

burro-ii-albums-main-picture6474-radio1.jpg


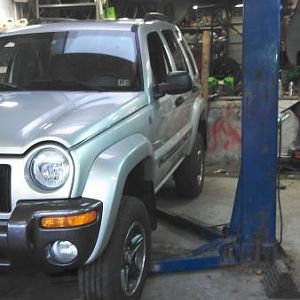
Brakes front and rear:

burro-ii-albums-main-picture6478-frontbrakes1.jpg


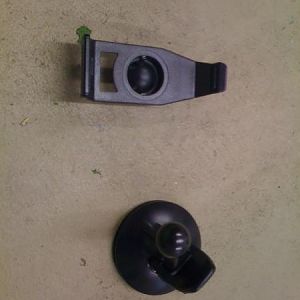
Old pads were pretty sorry. 1/16" on one of them.

burro-ii-albums-main-picture6477-oldpadsnewpads.jpg


burro-ii-albums-main-picture6475-rearbrakes1.jpg


Diff looked perfect when I opened it up:

burro-ii-albums-main-picture6476-reardiff.jpg


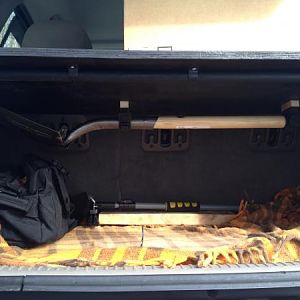
Great test drive. Shakedown cruise to Hetch Hetchy on Thursday.
 

JasonJ

Full Access Member
Joined
Jul 8, 2013
Messages
1,521
Reaction score
51
Location
Michigan
Wow, those rims are shiny!

What model radio did you install? I have an RBQ, which I appreciate for the in-dash 6-disc changer.. was considering wiring in the aux port myself, but if it's just as easy-easier to swap in another Chrysler radio....

Looking good!
 

Burro II

Member
Joined
Mar 2, 2019
Messages
65
Reaction score
3
Location
Sierra Foothills CA
Wow, those rims are shiny!

What model radio did you install? I have an RBQ, which I appreciate for the in-dash 6-disc changer.. was considering wiring in the aux port myself, but if it's just as easy-easier to swap in another Chrysler radio....

Looking good!

Thanks.
The original radio is model RBK. Single screw to the left of the power outlet releases the cover panel. Fours screws hold in the radio. Two plugs in the back.

Sourced at 1factoryradio.com

$125 delivered.

Hope that helps.
 

JasonJ

Full Access Member
Joined
Jul 8, 2013
Messages
1,521
Reaction score
51
Location
Michigan
Thanks.
The original radio is model RBK. Single screw to the left of the power outlet releases the cover panel. Fours screws hold in the radio. Two plugs in the back.

Sourced at 1factoryradio.com

$125 delivered.

Hope that helps.

Yep! I knew about them, I was thinking there was a factory radio (like from overseas) that already had the aux in port.

1factoryradio.com is selling the radios with the port modded in, which I can do myself. That's a good price for one though.
 

turblediesel

memberable
Joined
May 31, 2015
Messages
3,417
Reaction score
1,146
Location
Alaska
Comet DP-730 is the number for the doorlip mount I used but it looks like you're all set.

How DID you get those wheels that shiny?
 

Burro II

Member
Joined
Mar 2, 2019
Messages
65
Reaction score
3
Location
Sierra Foothills CA
Comet DP-730 is the number for the doorlip mount I used but it looks like you're all set.

How DID you get those wheels that shiny?

Bought them new from Jante Wheel. $435 set of four delivered! New black lug nuts too, from same place. Less than $20 for 23 of them.

Antenna mount is a simple piece of angle aluminum cut to match the curve of the rack end and secured by 3 screws into the inside of the rack end. Then a simple hole in the horizontal surface of the aluminum for the antenna/feed line connection. It is only about 3" by 1.3".

Easy enough. Hidden. Sturdy. Effective. From off the shelf stock. 30 minute project. Got the antenna nice and high. Antenna is a Comet CA 2 X 4 SR. Works great with my Yaesu FT-60 VHF/UHF. Gets me good distance, as well as working over some tough terrain, which is all around me.

73
Brian
N7BKV
 
Last edited:

turblediesel

memberable
Joined
May 31, 2015
Messages
3,417
Reaction score
1,146
Location
Alaska
Good job! I have the same antenna tucked next to the left rear seat and a tiny 10" antenna on the mount that fits under the garage door without any memory problems. FTM-10SR with 10 watts doesn't go far but bigger stuff plugs right in, NL7PW
 

JasonJ

Full Access Member
Joined
Jul 8, 2013
Messages
1,521
Reaction score
51
Location
Michigan
This reminds me that I need to replace my rear wheel studs and get a new set of nuts. But I was waiting to do that for when my moabs go on.

Clean parts on the el burro II KJ looking good!
 
Top