
Boiler
New Member
Now I've been judged by a few for making this overcomplicated, but I think it's pretty simple and straightforward.
I wanted to wire four Hella FF50 lights in front on two seperate switches (inner lights and outer lights), and two Hella FF75 lights in back with their own switch. The are all 55 watt but I wanted to run wiring so that I could upgrade the bulbs.
I used some 2 color LED light switches that needed to be wired to accessory so that they'd be off when the key was off. For this I ran a jumper from an accessory splice to power a relay that allowed power from my main fuse panel to the accessory fuse panel. The accessory fuse panel feeds my switches and fires all of my other relays. The battery fuse panel feeds the contacts on the relays, and ultimately the lights.
Not shown: I used a 60 amp Buss **** Fuse & holder right off the battery, and then ran 6 gauge welding cable from there, through the firewall at the little knockout next to the main wiring hole, and to my fuse panel install. All grounds terminated on the little piece of sheet metal by the hood release. I ran two 14 ga wires to each light from the panel & the ground plate. The run under my door trim, up the B pillar, and through a hole in the roof that's lined up with the hole in my rack foot. The rest should be pretty clear fromt he pictures and such.
Electrical Schematic: I make these schematics at work for designing scissor lifts. It simplifies troubleshooting and planning.
I also make a wiring diagram that shows you exactly where each wire goes.
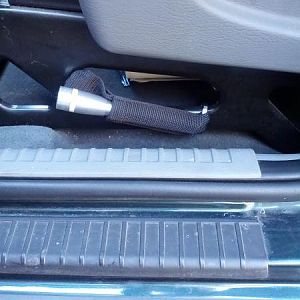
Panel for mounting under steering column:
Panel wired on the workbench:
Panel installed. Orange cable is the welding wire.
Connection at each light, before heat shrink:
Rack pigtail at light after heat shrink:
Wires from light entering the rack:
All wires are fished throught he rack and exit the front left foot.
Rack wired and ready for install:
Switches, with panel inside:
Finished pictures:
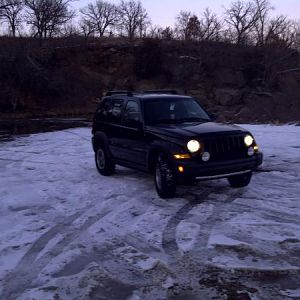
Lights on:
I wanted to wire four Hella FF50 lights in front on two seperate switches (inner lights and outer lights), and two Hella FF75 lights in back with their own switch. The are all 55 watt but I wanted to run wiring so that I could upgrade the bulbs.
I used some 2 color LED light switches that needed to be wired to accessory so that they'd be off when the key was off. For this I ran a jumper from an accessory splice to power a relay that allowed power from my main fuse panel to the accessory fuse panel. The accessory fuse panel feeds my switches and fires all of my other relays. The battery fuse panel feeds the contacts on the relays, and ultimately the lights.
Not shown: I used a 60 amp Buss **** Fuse & holder right off the battery, and then ran 6 gauge welding cable from there, through the firewall at the little knockout next to the main wiring hole, and to my fuse panel install. All grounds terminated on the little piece of sheet metal by the hood release. I ran two 14 ga wires to each light from the panel & the ground plate. The run under my door trim, up the B pillar, and through a hole in the roof that's lined up with the hole in my rack foot. The rest should be pretty clear fromt he pictures and such.
Electrical Schematic: I make these schematics at work for designing scissor lifts. It simplifies troubleshooting and planning.
You must be registered for see images attach
I also make a wiring diagram that shows you exactly where each wire goes.
You must be registered for see images attach
Panel for mounting under steering column:
You must be registered for see images attach
Panel wired on the workbench:
You must be registered for see images attach
Panel installed. Orange cable is the welding wire.
You must be registered for see images attach
Connection at each light, before heat shrink:
You must be registered for see images attach
Rack pigtail at light after heat shrink:
You must be registered for see images attach
Wires from light entering the rack:
You must be registered for see images attach
All wires are fished throught he rack and exit the front left foot.
You must be registered for see images attach
Rack wired and ready for install:
You must be registered for see images attach
Switches, with panel inside:
You must be registered for see images attach
You must be registered for see images attach
You must be registered for see images attach
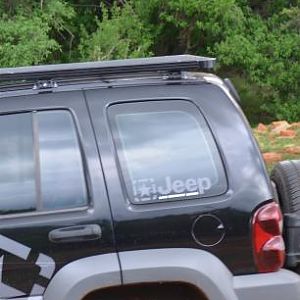
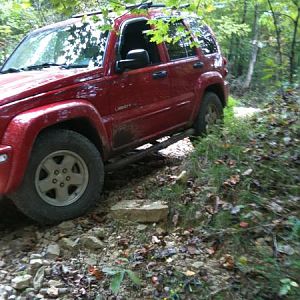
Finished pictures:
You must be registered for see images attach
You must be registered for see images attach
You must be registered for see images attach
Lights on:
You must be registered for see images attach