
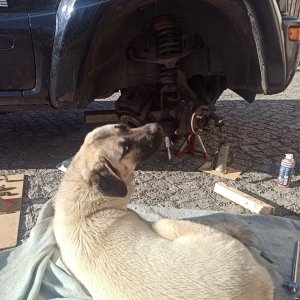
Could someone tell me if this would be a good upgrade for me. I have a 3 inch lift and soon in need of a new rear upper control arm and after seeing this thought I may add one at the same time. I won't gain any height with this extension correct it just relieves stress from the control arm and bushings?
Y Link Extension
Y Link Extension


![IMG 0021[1]](/data/xfmg/thumbnail/5/5374-9861b5303df72e1e43578995e48ace68.jpg?1623784625)