
Happy thanksgiving holiday everyone!
Ok, i have settled on a plan of action and am wanting to make sure i have all the tools necessary.
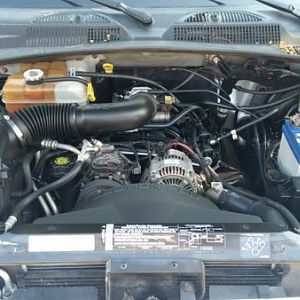
I will be putting in the complete OME 1 1/2" heavy duty lift (not CRE) and the JBA UCA.
I have never done a job like this but it looks fairly straight forward and i am giving myself a weekend to do it. I will be using shop space where i work and need to be out of there by Monday morning and don't want any hold-ups for lack of tools, material, etc.:whip:
Oh, and regarding the UCA, i should probably replace the bottom of the ball joint too, right? I guess i will need to get a seperator tool..
What is the biggest std. socket i need? biggest impact socket?
i can't thin of any other questions for now-.
thanks for your help,
Eff
Ok, i have settled on a plan of action and am wanting to make sure i have all the tools necessary.
I will be putting in the complete OME 1 1/2" heavy duty lift (not CRE) and the JBA UCA.
I have never done a job like this but it looks fairly straight forward and i am giving myself a weekend to do it. I will be using shop space where i work and need to be out of there by Monday morning and don't want any hold-ups for lack of tools, material, etc.:whip:
Oh, and regarding the UCA, i should probably replace the bottom of the ball joint too, right? I guess i will need to get a seperator tool..
What is the biggest std. socket i need? biggest impact socket?
i can't thin of any other questions for now-.
thanks for your help,
Eff