
rbtconsultants
Full Access Member
That's the pic I saw ")
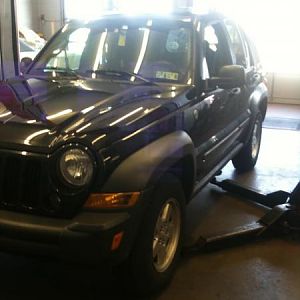
So I have a question for you. We successfully inserted the engine into the engine bay today (with the cats on). We did not complete the installation however. I was working the engine lift and my son was underneath. He kept trying to position the starter and get the engine into the motor mounts. We worked at that for a couple hours and were unsuccessful. Bagged it for the day.
My take on it is we should leave the engine hanging a bit above the motor mounts, jack the transmission up a bit, mate the transmission and engine, get the starter bolted in, and then lower the engine onto the mounts.
Does that sound right? Is that how you did it? Do you have any advice?
Thanks,
Bob