Trying to remove the instrument panel cluster cover right now to replace the instrument panel bulbs (instrument panel went from dim to dark), and thought I'd throw this in... every "how to" I've seen shows torx screws in the "oh sh*t!" bars, but my '05 has 6mm hex head bolts.
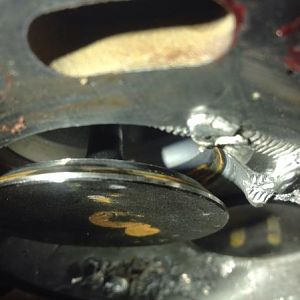
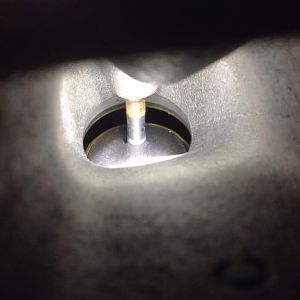
The problem is, they are deeply recessed, and the hole in which they live is way smaller than any socket I have. Anybody have any trouble with this in the past? I'm wondering if I should just jam a socket in there and hope the plug still fits tights when I'm done, or if there's some secret trick.
EDIT: Turns out the bolts in the support column handle are 5.5mm. I just pushed the socket in and backed out the screw. The handle is pretty soft, so I don't anticipate much of a problem with it "bouncing back" once it's time to put things back together and put the trim plug back in.