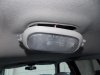
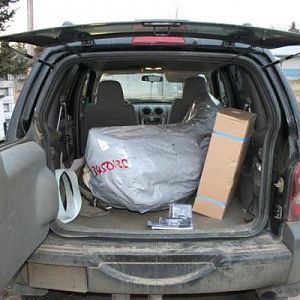
Thanks Mark. Interesting, it appears to be identical to the one in the rear or cargo area.
Yes it is.


Disclaimer: Links on this page pointing to Amazon, eBay and other sites may include affiliate code. If you click them and make a purchase, we may earn a small commission.
Thanks Mark. Interesting, it appears to be identical to the one in the rear or cargo area.
Did yours come stock or you added it later?
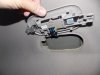
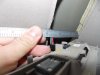
If you still need it I could take one down and get a picture of the hole and back of the light fixture tomorrow.
")
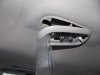
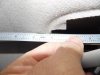
Thanks Mark!! Dang that appears to be one thick headliner !
How do you cut into that without removing it?
This light appears different than what was posted in post #20
I wonder if it is the same one as the rear or a bit different?
Are the wires from the connector running to the front or rear?
Thanks for the pics.
from one of the pics it looks like the wiring's running towards the rear.
probably a really sharp knife might work but maybe a dremel tool with a cutting wheel might make a quick job out of it after using a knife to cut through the headliner cloth.
The picture that I posted up could be for the cargo dome light and might be different.
Mark: are both the passenger and cargo dome lights the same where you push on, on one side instead of the center of the clear plastic?