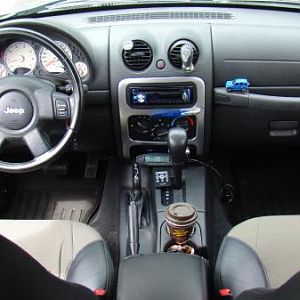
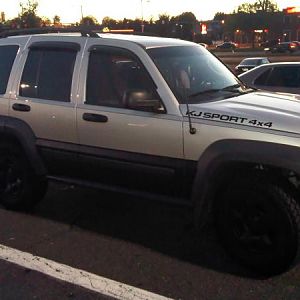
I thought I would share my 2 cents on replacing the front suspension on my 2004 KJ, for those who have never done it before and look to tackle the project. I'm a noob when it comes to suspension work, but I got A LOT figured out while doing this project, and hopefully I can help somebody out there.
I wasn't doing a lift, just replacing the very very worn suspension with some Monroe QuickStruts. They came with their own set of installation instructions. I also have the official repair manual, with a different set of installation instructions. And, of course we have the Internet for additional reference...
Here's the quick way to do it, that I was able to do without much issue at all, after doing it the hard way on one side.
REMOVAL:
- Remove the air box, and move the cruise control module if you have one.
- Remove the battery, unplug (2 nuts) and un-mount your fuse box, and EVAP canister so they're out of the way. Then remove your battery tray (there are 3 nuts). Unplug the sensor on the bottom of the tray, and then set aside.
- Loosen, but do not remove the top mounting nuts for the suspension, 4 on each side.
- Get her up on jack stands and take the front tires off.
- Remove the bottom clevis nut and bolt.
- Remove the top clevis bolt.
- Do some maneuvering and get the clevis out.
- Remove the top mounting nuts for the shock/coil assembly, and remove.
INSTALLATION:
- Slip the shock/coil assembly in, and get the nuts on top started, but keep them loose. Let it hang.
- Put the clevis back in. This is the tricky part, but not too bad. You need to push and tap on things a little to get the clevis on to the bottom of the shock. There is a 'key' that fits in the slot on the clevis, pay attention to that. Once you have it back on, tap on the bottom of the clevis until it's full seated on the shock. There's a little stop on the shock so you know where the clevis should seat. Once you get there, install the top clevis bolt, but do not tighten.
- Install the bottom clevis bolt and nut. *See note below*
- Torque the 4 top nuts to spec (80 ft/lb)
- Torque the bottom clevis bolt / nut to spec (110 ft/lb)
- Torque the top clevis bolt to spec. (100 ft/lb)
- Do the other side, reassemble engine compartment, Done.
The above torque specs are what the Monroe instructions specified. Below is a link to torque specs for the KJ. And if you have it, double check with the repair manual.
Jeep Liberty/Torque Specs & Socket Sizes - Wikibooks, open books for an open world
Now...here's all the steps I've deemed unnecessary. At first I started with the repair manual's removal procedures, as I figured they would be the "official and correct" instructions. This has you pulling out the bolt for the sway bar/stabilizer, separating the lower ball joint from the lower control arm, and pulling out the shock/coil with the clevis as one assembly. I couldn't get my lower ball joint to separate, so I looked at Monroe's instructions...should've followed theirs to start with.
*Lower Clevis Bolt Note*
The above instructions are Monroe's...except, they also have you break free the upper ball joint to allow easier access. I found that was not necessary. I started on my driver's side, and after putting my sway bar linkage and lower ball joint back together, I did break free my upper ball joint, and it was a PITA putting the nut back on it, because it kept wanting to turn with the nut. I also had a VERY difficult time getting the lower clevis to line up with the lower control arm hole. I read you're supposed to use ratchet straps to pull the clevis into place, but I didn't have any of those. I used a huge pry bar, and then jammed a screwdriver through the clevis to pull it into place while I ran the bolt through. I ended up tearing the grease boot on my lower ball joint in the process (while prying). So that's another project in a week or so.
I did exactly the above steps on my passenger side, and it took significantly less time to swap the suspension. I was at the other side for about 4 hours. My biggest challenges were figuring it out for the first time, and not having exactly the wrench or socket for certain nuts and bolts. But it worked out. I managed not to strip or break any bolts or nuts, and everything torqued up just fine.
I'd recommend 1/2" drive ratchets and sockets for this job. A breaker bar is almost mandatory. PB Blaster everything a couple days before you do the job. It helps. You'll also need 18mm, 19mm, and 21mm sockets, standard and deep.
Thanks for reading! I'd be happy to hear any tips the pros have. Cause if I screwed up, and something isn't going to work...let me know!


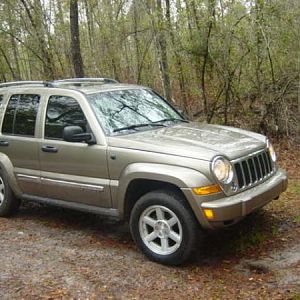
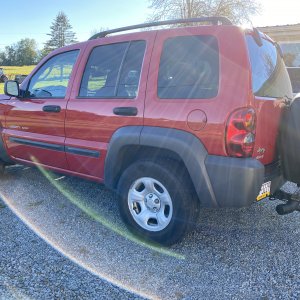
![5231321 3[1]](/data/xfmg/thumbnail/3/3527-7710d30b57623b2deaa3a85c92977dda.jpg?1623784620)
![5231321 1[3]](/data/xfmg/thumbnail/3/3526-3b6fe35079b0522ff00b2b10e9fba19b.jpg?1623784620)
