
uss2defiant
Full Access Member
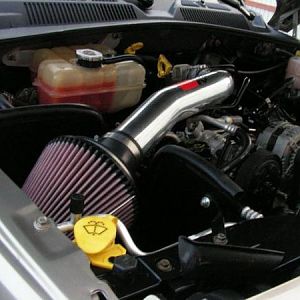
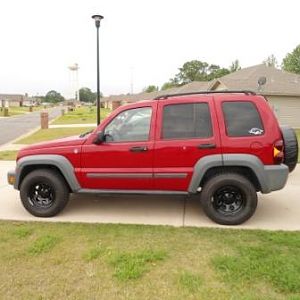
great thread.
I've bookmarked it for my future mod.
Do you think you can update your first post w/ links to where you bought your hardware from as well?
Thanks!
Looking forward to a step by step if you're planning to write one up.
I've bookmarked it for my future mod.
Do you think you can update your first post w/ links to where you bought your hardware from as well?
Thanks!
Looking forward to a step by step if you're planning to write one up.