
-=JoN=-
Member
as posted by eric af blkltd
original Thread
http://www.jeepkj.com/forums/viewtopic.php?t=622
original Thread
http://www.jeepkj.com/forums/viewtopic.php?t=622
eric af blkltd said:Yeah it ***** that the kit didn't come with instructions and when you take off the wheels and see the front end it kinda looks intimidating at first but I will say it was my first time installing a lift kit and it not very hard at all. Its going to take me a bit to upload some of the pictures I have of the install but I will post them as soon as I can! I can list most of the steps though for now and if you want you can go from there...The tools you will need are: 10mm, 13mm, 17mm, 18mm, and 21mm deep/shallow sockets and combo wrenches, a medium sized crescent wrench, a hammer, a jack and some jack stands and thats it. All those sizes are for the front end. For the rear end all you need is a 18mm and a 15mm wrench..
I used the skyjacker kit instructions when I did the install but I found out that most of the stuff they told me to remove you may not have to (it saves a ton of time!).
Front Installation Procedures
1. Remove the air box by popping it out, theres three places on the bottom of it that pop out. Then remove the battery, battery tray, and fuse box (you'll need the 10mm and 13mm sockets) and place the battery tray out of the way. Chock the rear tires and lift the front end supporting it with jack stands. Remove the wheels.
2. Disconnect the upper and lower a-arms using a 21mm socket (you may have to use a hammer to loosen the a-arms).
3. Remove the upper and lower bolts on the clevis bracket and remove the bracket from the strut.
4. Remove the 4 retaining nuts on top of the strut using a 18mm socket and remove the strut assembly.
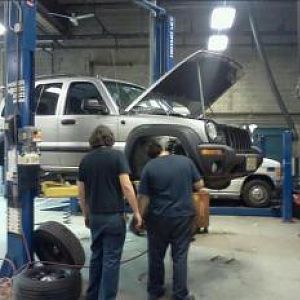
At this time I reccomend that you take the assembly to a shop to have them disassemble and assemble the new strut (should cost around $25 bucks a strut) unless you have access to a machine strut compressor.
However, if you want to do it yourself w/o a machine then just be careful. I have a nice gash in my chin from using the hand compressors =D>
You will compress the spring enough to remove the nut on top of the strut and remove the strut bracket, washer and the two rubber seats. You will reuse these.
5. Assemble the new strut/coil assembly using a spring compressor. The nut on the upper strut bracket should be torqued to about 20 Ft. Lbs.
6. Install the new coil assembly. First attach the upper mount using the 4 retaining nuts removed earlier. Don't tighten these bolts yet.
7. Slide the clevis bracket onto the bottom of the new strut. If you want the clevis adjustment slide only about an inch of the strut into the bracket. Torque the upper clevis bolt to 65 Ft. Lbs. and re-attach the lower bolt on the clevis bracket back to the lower a-arm.
8. At this time tighten the 4 strut retaining nuts and re-attach the a-arms. Torque everything to factory specs (Bennett has a link in a previous post on this thread). Repeat for the other side and your done.
Your done with the front! Just install the battery tray, battery and airbox. Now for the easy part...the rear installation.
1. Set the emergency brake and chock the front tires. Raise the rear of the vehicle and install the jack stands. Remove the wheels.
2. Using an 18mm and 15mm wrench remove the rear shocks.
3. By either having someone stand on the brake drum or by jacking up the other end of the axle, lower the axle on your side enough to remove the old spring.
4. Install the new spring (notice how much bigger it is than stock!!!) then install the new shocks. The washers supplied with the kit will be used as shims since the new shocks aren't wide enough at the attchment points.
5. Repeat for the other side and torque everything to factory specs.
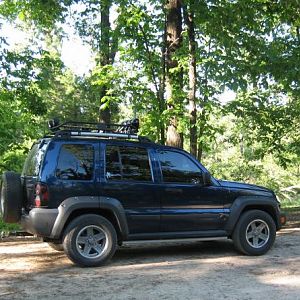
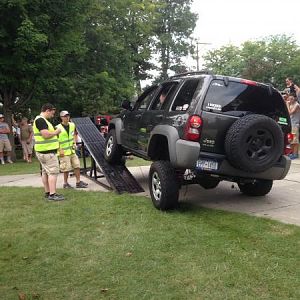
6. Put the wheels back on, lower it off the jacks and take a trip around the block in your lifted KJ!!!
Make sure you re-torque all your bolts/nuts after 100 miles and before you get an alignment, get the new tires (if you plan on it) and make sure the lift is what you want. Obviously if you have the lift in your garage then you already thought about that... \/ I'll post the pics once I upload them and good luck with the install...let me know how it goes and if you have any questions feel free to send me a message. HAVE FUN!!!