blueliberty029
Full Access Member
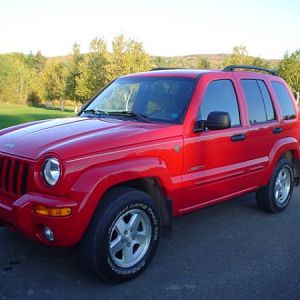
What size was that aluminum tubing you used for the cross bars?
Looks to me like 1" maybe? Just making sure, thanks!
Looks to me like 1" maybe? Just making sure, thanks!


Disclaimer: Links on this page pointing to Amazon, eBay and other sites may include affiliate code. If you click them and make a purchase, we may earn a small commission.

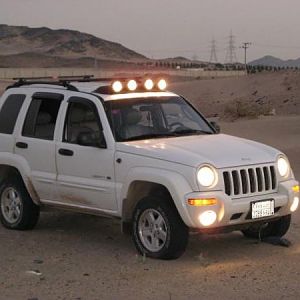
How much was that rail mod altogether? Would make an excellent lightbar... hmm....
BTW: I just ordered pizza. Was a $3 tip enough?
How much was that rail mod altogether? Would make an excellent lightbar... hmm....
BTW: I just ordered pizza. Was a $3 tip enough?
Looks like you got 2 kayaks up there. Go had and post more pic,s too please.
As far as pics ok.
All in all an amazing Vacation. Questions or comments are welcome.
"The Mac Daddy of MI Wineries" and ended up taking that exact same photo. I had a built in DD on that trip because my wife was a few months pregnant at the time.Haha... That wine tasting trip is exactly, stop-for-stop, the exact same wine tasting trip I went on with my wife and some friends two years ago. I love the dramatic entrance to
Cool pics, thanks for posting!
Just out of curiosity... about how much were materials and hardware?
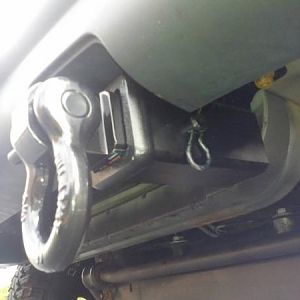
Did you think about using a small hole saw on the top of the rail, then cutting the u-bolts so they don't stick up out of them(nut and washer basicly inside the rail, use a socket to tighten down the nuts)? then you can get fenderwell hole plugs to snap into the holes, it would make it smoother on the top, and then there would be no studs or nuts on top to gouge up your kayaks or arms...