
501
Full Access Member
Thanks to Tony CRD's write-up, me, a guy who never wrenched on a vehicle before, and a friend, who's never done a lift before, was able to put my 2.5" Daystar lift in this weekend. We took it slow and easy and read through his write up and jumped right in and got it done!!
Before:
During:
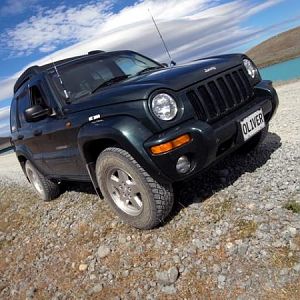
After:
I know it will settle some, but I love the new look!! Sorry about some of the pictures, but I'm no photograher!
Before:
You must be registered for see images
You must be registered for see images
During:
You must be registered for see images
You must be registered for see images
After:
You must be registered for see images
You must be registered for see images
I know it will settle some, but I love the new look!!
Sorry about some of the pictures, but I'm no photograher! 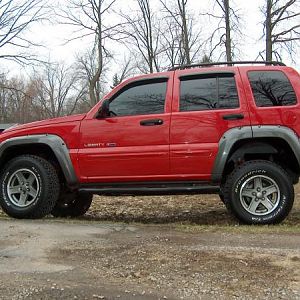
![IMG 3854[1]](/data/xfmg/thumbnail/3/3279-064d1904aff84676dd2cb1ce93c640bc.jpg?1623784620)