I say mod thread because I'm not 'building' a jeep ha ha. I'm modding it.
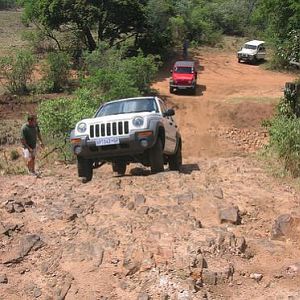
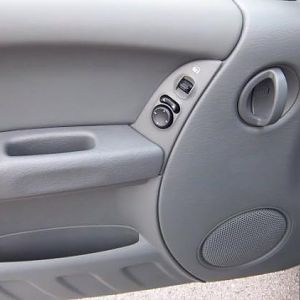
Our jeep is my wife's primary vehicle, I drive it when we take the kids out, or do some shopping. It's def a mall crawler and probably won't see any mud ha ha. I drive my 01 f350 psd daily and I'm pretty much done modding it until something big breaks ha ha. So it's time I focus on the crd for a bit. For the near future I'm planning the ome lift, extra isolators, 1/4 inch strut spacers, moab wheels and some cooper discoverer or some falken wild peaks in 245 75 16.
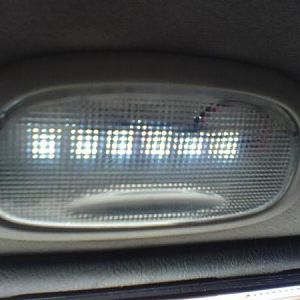
Later on I hope to get an Eco tune or something, and various lighting for it. I'd like to fab up a cargo basket as well. All in good time though ha ha.
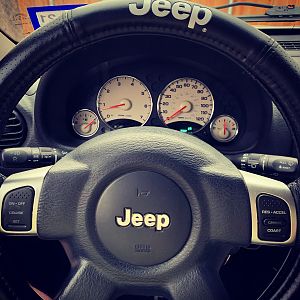
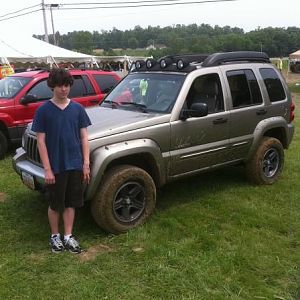
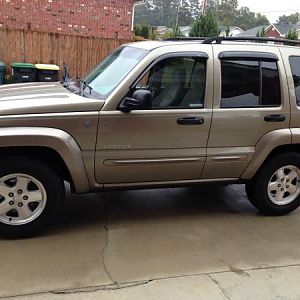
Here's how she looks, 2005 4x4 crd limited
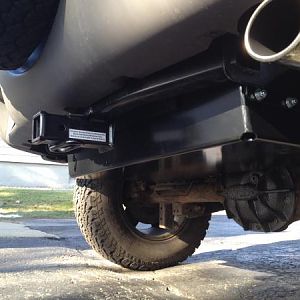
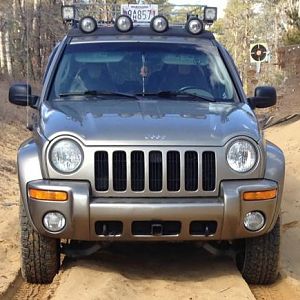
And here are the teasers. I'm planning to paint the rims this weekend, and have the tires mounted sometime between next week and the first weekend in dec. that's the weekend I'm shooting to do the suspension install.
Sent from My Porcelain Throne using Tapatalk
Our jeep is my wife's primary vehicle, I drive it when we take the kids out, or do some shopping. It's def a mall crawler and probably won't see any mud ha ha. I drive my 01 f350 psd daily and I'm pretty much done modding it until something big breaks ha ha. So it's time I focus on the crd for a bit. For the near future I'm planning the ome lift, extra isolators, 1/4 inch strut spacers, moab wheels and some cooper discoverer or some falken wild peaks in 245 75 16.
Later on I hope to get an Eco tune or something, and various lighting for it. I'd like to fab up a cargo basket as well. All in good time though ha ha.
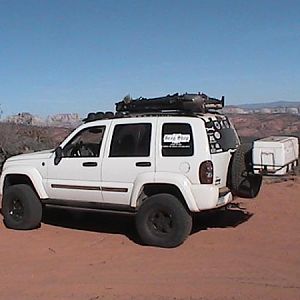
Here's how she looks, 2005 4x4 crd limited
You must be registered for see images attach
And here are the teasers. I'm planning to paint the rims this weekend, and have the tires mounted sometime between next week and the first weekend in dec. that's the weekend I'm shooting to do the suspension install.
You must be registered for see images attach
You must be registered for see images attach
Sent from My Porcelain Throne using Tapatalk