eBay coil and strut spacers: part 1
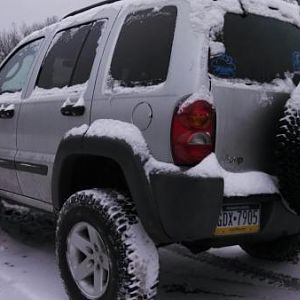
You must be registered for see images attach
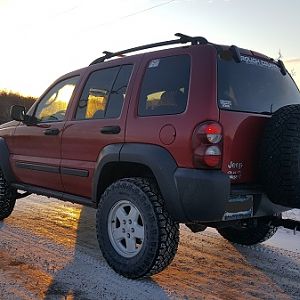
All jacked up, just kidding, only rear coil spacers are in and front is jacked up to show maximum droop.
My starting point of the stock suspension ground to fender heights are as follows:
Rear pass: 33.75"
Rear drive: 34.25"
Front pass: 31.25"
Front drive: 31.75" (no fender flare)
I am using the ground to fender height because it is the most practical and realistic values to real life application where as center hub to fender height is an irrelevant value. An example of this is my 2000 Suburban which has a factory center hub to fender height yet I have exactly the same approach angle, departure angle and break over angle as a stock 2017 2 door Wrangler Rubicon.
Enough of the soapbox, lets have some fun.
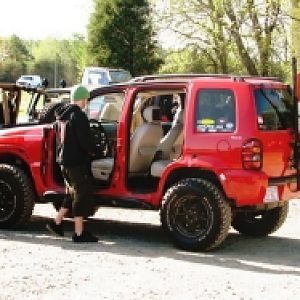
You must be registered for see images attach
This is my starting point. 235/70R16 tires.
You must be registered for see images attach
eBay 2.5" front and 2" rear spacer kit. Construction and materials look simple and solid only time will tell how they fare in the long run.
You must be registered for see images attach
So I read a whole bunch of forum threads on how to install the spacers, most of which were done by someone else or a shop or a dealer. Watched a whole bunch of YouTube how to videos and they included extra steps that seemed completely unnecessary.
You must be registered for see images attach
I tinkered for about 30 minutes with the rear passenger side spacer and figured out how to install the drivers side in about 10 minutes, and that includes taking the wheel off and putting it back on.
You must be registered for see images attach
Step 1
Jack up by axle
Remove wheel 19mm
Remove upper shock bolt: 15mm
Support frame with a jack stand
Lower axle until coil is loose
Remove coil by tilting bottom off isolator and out.
You must be registered for see images attach
Step 2:
Remove OEM isolator
Clean coil perch
Place coil spacer on perch
Place OEM isolator on coil spacer
You do not have to unbolt the diff support bolt unless you do this for a living and like to charge your customers more in labor.
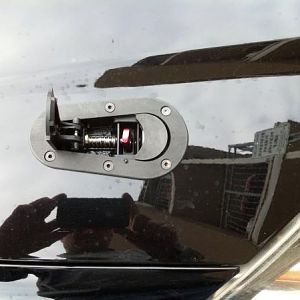
You must be registered for see images attach
Step 3:
Rent coil compressor like these, most places rent them for free
Compress the coil at 12 o'clock and 4 o'clock, do not do 12 and 6, creates clearance issues
Bolt can be facing up or down, facing up is easier for me
You must be registered for see images attach
Step 4:
Insert compressed coil into position, slide top in first, then bottom
Raise the axle and attache shock bolt
Raise the axle some more until coil is within 1" of the top perch
Release one of the coil compressors completely
You must be registered for see images attach
Step 5:
Rotate coil so second compressor is easily accessible
Release the second coil compressor
You must be registered for see images attach
Step 6:
Lower the axle completely
Attach the wheel to hub
You must be registered for see images attach
Bam! And just like that you installed a 2" rear coil spacer under 10 minutes.
For those who like numbers that have little meaning:
Center hub to fender:
Rear driver 23.5"
Rear pass: 24"
Ground to fender:
Rear driver: 36"
Rear pass 35.75"
All these numbers will change once the strut spacers are in and once again after they are seated.
Stay tuned for more shenanigans!